Step One: Environment Preparation
Please refer to Environment Preparation to set up two servers, with at least one being a GPU server. If the master node will be used as a rendering node, follow the steps for Deploying the Standalone Version for deployment, starting from step 8 for the rendering node configuration. If the master node is not used for rendering, proceed with the following steps for deployment.
Step Two: System Composition
Based on System Components,download the program package and recommend extracting it to the root directory of a drive, ensuring that the path does not contain any Chinese characters.
Step Three: Port Availability
Configure the system ensuring that the system ports are available and not in use. If any ports are occupied, make the necessary modifications.
Master Node:
| Type | Port Number | Purpose | Modification Method |
|---|---|---|---|
| TCP | 8181 | Frontend page nginx forwarding and backend interface | [Modify 8181 port]( https://www.pingxingyun.com/question/detail?topicId=10078&categoryId=2 Please refer to) |
| TCP | 8182 | Backend page nginx forwarding | [Modify port 8182]( https://www.pingxingyun.com/question/detail?topicId=10114&categoryId=2 Please refer to) |
| TCP | 8184 | Management Services | Modify 8184 Port |
| TCP | 6379 | Redis | Modify port 6379 |
Render Server
| Type | Port Number | Purpose | Modification Method |
|---|---|---|---|
| TCP | 8089 | Sync and Proxy Service Port | Modify 8089 Port |
| TCP | 10002 | Websocket communication port | Modify 10002 port |
| TCP | 10003 | Internal communication port of rendering server | Modify 10003 port |
| TCP | 10004 | rendering server SSL port | modify 10004 port |
| UDP | 10011-10040 | Audio and Video Communication Port | Modify Audio and Video Port |
Center
1. Prepare the Linux Server
2. Increase the System's Open File Limit:
ulimit -n 655353.Set the System to Use UTC Time by Default:
sudo ln -sf /usr/share/zoneinfo/Asia/Shanghai /etc/localtimeVerify the time:
timedatectlordate4. Set a Static IP for the Virtual Machine:
- Open the configuration file:
sudo vim /etc/netplan/01-network-manager-all.yaml - Modify the configuration file as follows::
network: ethernets: ens33: dhcp4: false addresses: [192.168.0.x/24] optional: true gateway4: 192.168.0.1 nameservers: addresses: [114.114.114.114,8.8.8.8] version: 2- Apply the network settings:
sudo netplan applyorsudo netplan --debug apply
- Open the configuration file:
5. Upload the Management Node Package to Linux
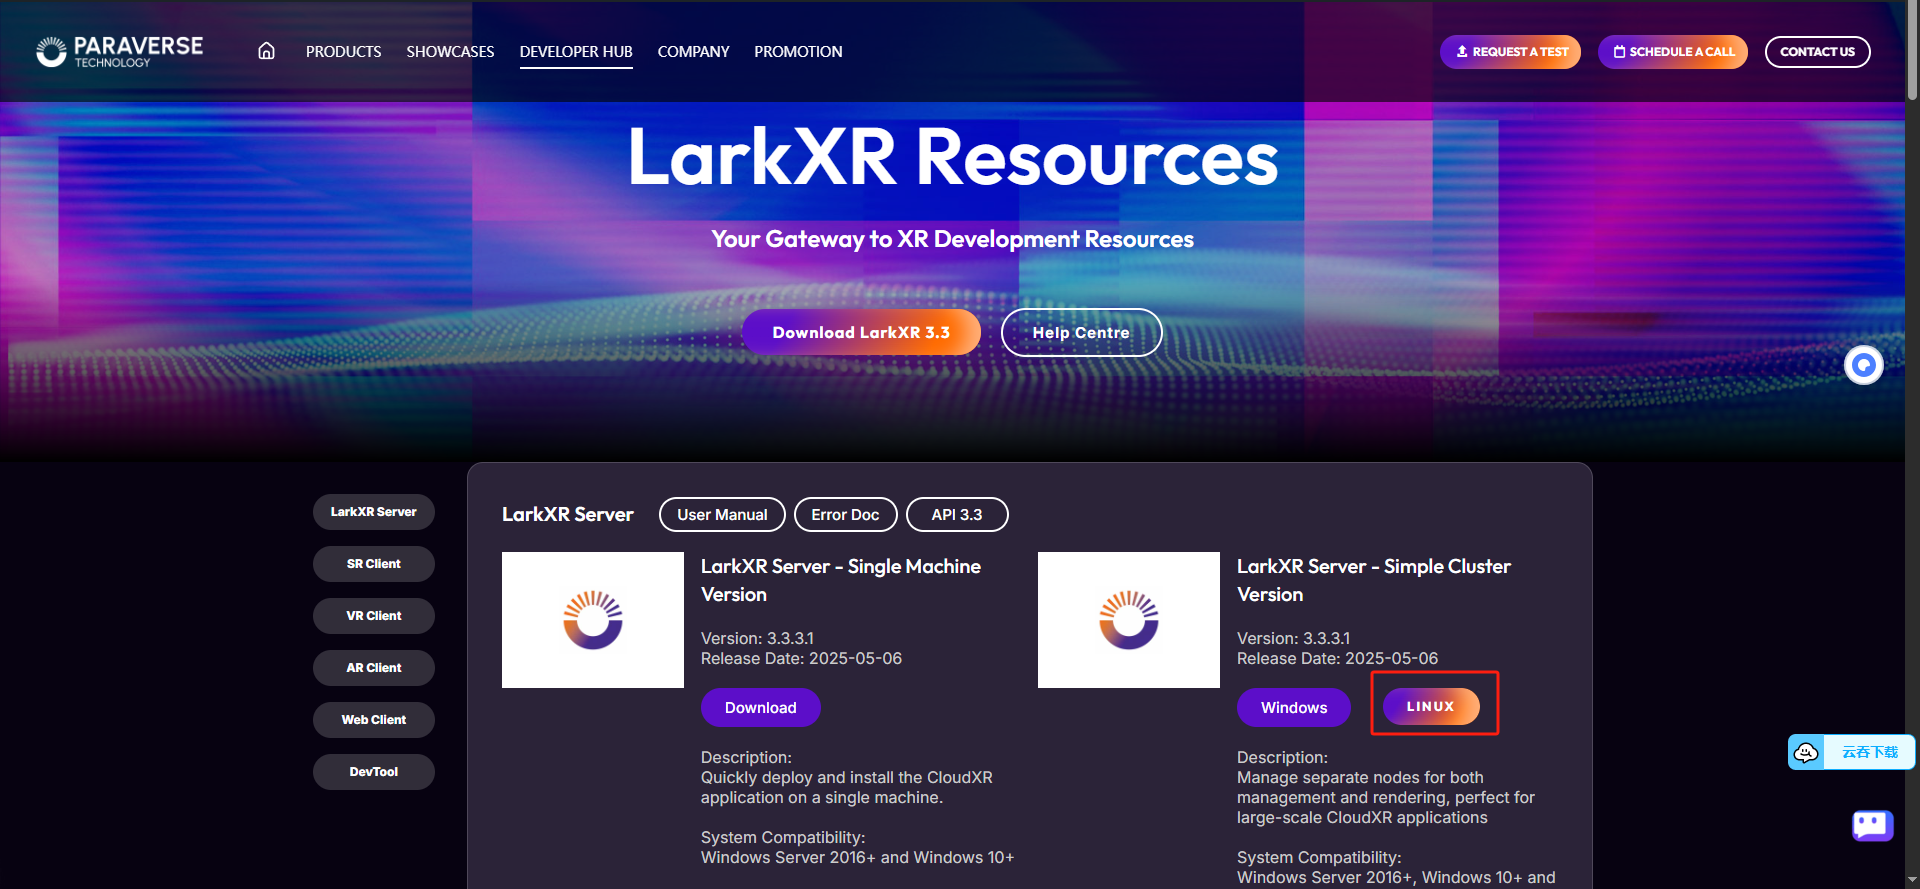
- Open the Pingxingyun Development Center pagein your browser and download the [Linux] compressed package.
Extract the downloaded compressed package and use WinSCP to upload the larkxr-center-docker package from the center management server to the virtual machine.
After completing the configuration, return to the /opt/larkxr-center-ubuntu-docker-offline directory and start the service using the following command:
sh start.sh
6.After all services are started successfully, access IP:8182 with the default account admin and password 123456
7. Log in to the backend interface to view resource monitoring information. At this point, the number of GPU nodes is 0. Next, you need to configure and start the rendering service.

Render
1.Prepare a Linux server
2. Confirm the Graphics Card Driver
Confirm whether the NVIDIA graphics card driver is correctly installed on the current system. If it is not installed, install the driver corresponding to your graphics card.nvidia-smi3.Execute the Following Commands to Modify Kernel Parameters (Optional Operation)
View the configuration file:sudo view /etc/sysctl.d/10-ptrace.conf
• Add or modify the following content:kernel.yama.ptrace_scope=0
• Save and exit, then execute the following command to apply the changes:
sudo /sbin/sysctl -p ln -sf /usr/share/zoneinfo/Asia/Shanghai /etc/localtime4.Set the System to Use UTC Time by Default:
sudo ln -sf /usr/share/zoneinfo/Asia/Shanghai /etc/localtimeVerify the time:
timedatectl或date5.Set a static IP for the virtual machine
- Open the configuration file:
sudo vim /etc/netplan/01-network-manager-all.yaml - Modify the configuration file as follows:
network: ethernets: ens33: dhcp4: false addresses: [192.168.0.x/24] optional: true gateway4: 192.168.0.1 nameservers: addresses: [114.114.114.114,8.8.8.8] version: 2- Apply the network settings:
sudo netplan applyorsudo netplan --debug apply
- Open the configuration file:
6.Upload the management node package to Linux
Open the Pingxingyun Development Center pagein your browser and download the [Linux] compressed package.
Extract the downloaded compressed package and use WinSCP to upload the larkxr-render-docker package from the center management server to the virtual machine.
After completing the configuration, return to the /opt/larkxr-render-docker-offline directory and start the service using the following command
  cd /opt/larkxr-render-docker-offline/
 sh start.sh
To stop the service
cd /opt/larkxr-render-docker-offline/
 sh stop.sh
- 7.Log in to the Backend Interface and View Resource Monitoring Information:At this point, the number of GPU nodes should be 1