LarkAR3.3
3.3 Environment
Hardware Environment
CPU
Memory
GPU
sound card
Software Environment
Operating System
Chrome Browser
VC Runtime Library
DX Runtime
Text Editor
Virtual Sound Card Driver
Virtual Camera Driver
Virtual Handle Controller Driver
Steam VR
System Settings
Turn Off Antivirus and Firewall
Turn Off Application Running Notification
Setup Automatic Login
Set Never Sleep-Never Turn Off the Display
Using dongle settings
3D Program Adaptation
Paraverse case - Unity
Paraverse case - Unreal
Installation and Deployment
System Components
Stand-Alone Version
Simple Cluster Version (Windows)
Deployment in Detail
Stand-Alone Intranet
Stand-Alone External Network
Cluster intranet(Windows)
Cluster external network(Windows)
Cluster intranet(Linux Docker)
Cluster external network(Linux Docker)
Deployment Case Study
Edge cluster deployment
LarkXR NAT
LarkXR Turn
Nginx reverse proxy
Server Port Mapping
Advanced Cluster Deployment
GPU dedicated server
Server Deployment Guide
Operating System Precautions
Using
Front usage instructions
AR APP
Client Support
Backend usage instructions
Login
Data center
Monitor
Usage Statistics
clientErrLog
Applications
Package Management
Package Overview
Add Package
Update package
Delete Package
Application Management
Applications
Add Applications
Share
Mouse Mapping
Reserve Applications
Noun interpretation
Synchronization management
Index
Client List
VR&AR Client Management
Group Mgt
Group management
Client Monitoring
System Setting
Access Auth List
Workspace
Param Setting
LicenceType
No Operation Timeout
Store
Safe
Region Setting
Custom Logo
Short Note
Port Mapping
Dispatch Policy
Current Limiting
Theme
Users
Change Password
change PWD
Port Forward
guides
Custom
App Index
Server-side
Application Storage
Standalone
Local Storage
OSS Storage
AWS S3
Cluster
Local storage
OSS Storage
AWS S3
General Features
Disk Space
Feature Components
DataChannel
Additional Parameters
Smart Voice
video input
voice input
Interactive Mode
How to use
Use Front end
Interactive Mode Interface Integration
Security Settings
Feature Components
Redis
MySQL8
Database Monitoring(druid)
Change userName and PWD
Disable
HTTPS access
Windows
Linux Docker
App Auth
Workplace Access Encryption
SDK ID for encrypted secondary development
security setting
Use AppliList Page
IP Blacklist-Whitelist
Allow Cross-Origin
CORS
Cors For Upload
Frequently Asked Questions (FAQ)
list of common issues
Update Log
product updates
-
+
首页
Steam VR
## Online Installation ### Install Steam Client 1. 
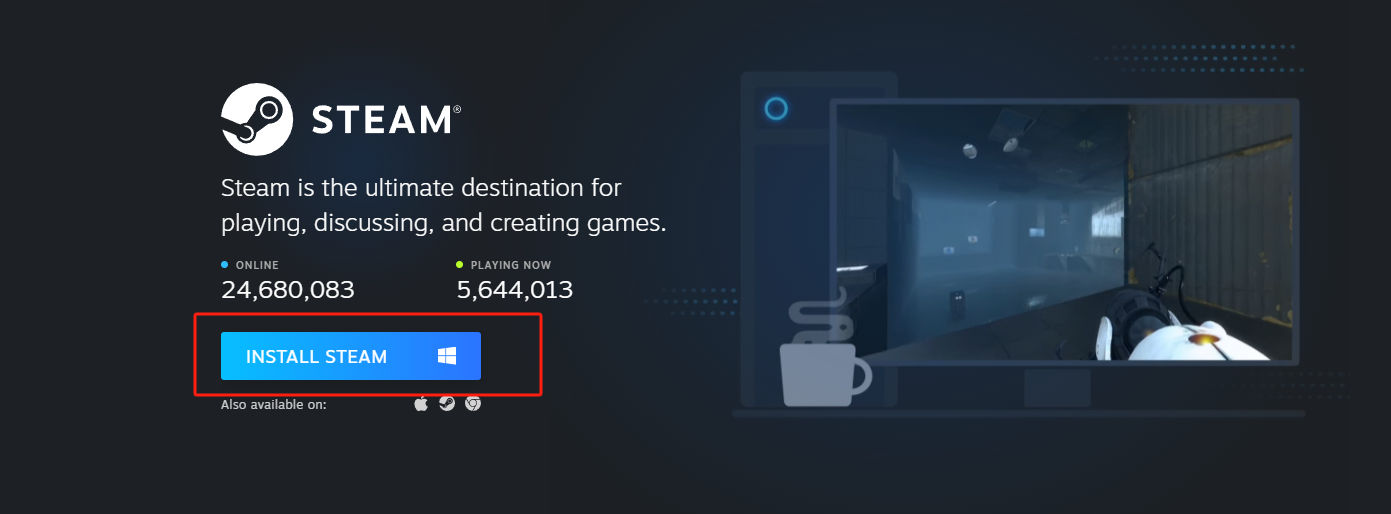
If you haven't installed the Steam client yet, visit the [Steam Official Website](https://store.steampowered.com/about/), click on “Install Steam” to download the installer.  1. Run the downloaded installer and follow the on-screen instructions to complete the installation 2. After the installation is complete, launch the Steam client and log in with your Steam account. If you don't have an account, you can register a new one using your email address. ### Install SteamVR **1. Launch Steam Client** Open the Steam client and log into your account **2. Download SteamVR** * In the search bar at the top of the Steam window, type SteamVR * Click on SteamVR in the search results and then click the Install button. * Wait for the download and installation process to complete. This may take a few minutes, depending on your internet connection and system specifications. * If you see the following directory structure in the installation directory, the installation is successful:  ## Offline Installation 1. Download the offline installation package: Visit a resource website that supports offline installation (such as [Pico Business Streaming](https://business.picoxr.com/cn/doc/Business-Streaming_v1.1) or other websites that provide SteamVR offline packages) and download the SteamVR offline installation package. 2. Extract the installation package: Unzip the downloaded package to a specified directory, which will usually contain the installer and related files. 3. Run the installer: Navigate to the extracted folder, locate the installer (such as SteamVR-1.24.7-1671750570.exe or another version of the installer), and double-click to run it. 4. Agree to the license terms and install: In the installer interface, select to agree to the license terms, then click the “Install” button and wait for the installation to complete. ## After the installation is complete, log out of Steam
admin
2025年4月16日 15:30
转发文档
收藏文档
上一篇
下一篇
手机扫码
复制链接
手机扫一扫转发分享
复制链接
Markdown文件
Word文件
PDF文档
PDF文档(打印)
分享
链接
类型
密码
更新密码
有效期