Step One: Environment Preparation
Please refer to Environment Preparation to set up two servers, with at least one being a GPU server. If the master node will be used as a rendering node, follow the steps for Deploying the Standalone Version for deployment, starting from step 8 for the rendering node configuration. If the master node is not used for rendering, proceed with the following steps for deployment.
Step Two: System Components
Based on System Components, download the program package and unzip it to the root directory of a drive, ensuring that the path does not contain any Chinese characters.
Step Three: Port Availability
Configure the system ensuring that the ports are available and not in use. If any ports are occupied, make the necessary modifications.
Master Node:
| Type | Port Number | Purpose | Modification Method |
|---|---|---|---|
| TCP | * * 8181 * * | Frontend page nginx forwarding and backend interface | [Modify 8181 port](https://www.pingxingyun.com/question/detail?topicId=10078&categoryId=2 Please refer to) |
| TCP | * * 8182 * * | Backend page nginx forwarding | Modify port 8182 |
| TCP | 8184 | Management Services | Modify 8184 Port |
| TCP | 3306 | MySQL | Modify 3306 Port |
| TCP | 6379 | Redis | Modify port 6379 |
Render Node
| Type | Port Number | Purpose | Modification Method |
|---|---|---|---|
| TCP | 8089 | Sync and Proxy Service Port | Modify 8089 Port |
| TCP | 10002 | Websocket communication port | Modify 10002 port |
| TCP | 10003 | Internal communication port of rendering server | Modify 10003 port |
| TCP | 10004 | rendering server SSL port | modify 10004 port |
| UDP | * * 10011-10040 * * | Audio and Video Communication Port | Modify Audio and Video Port |
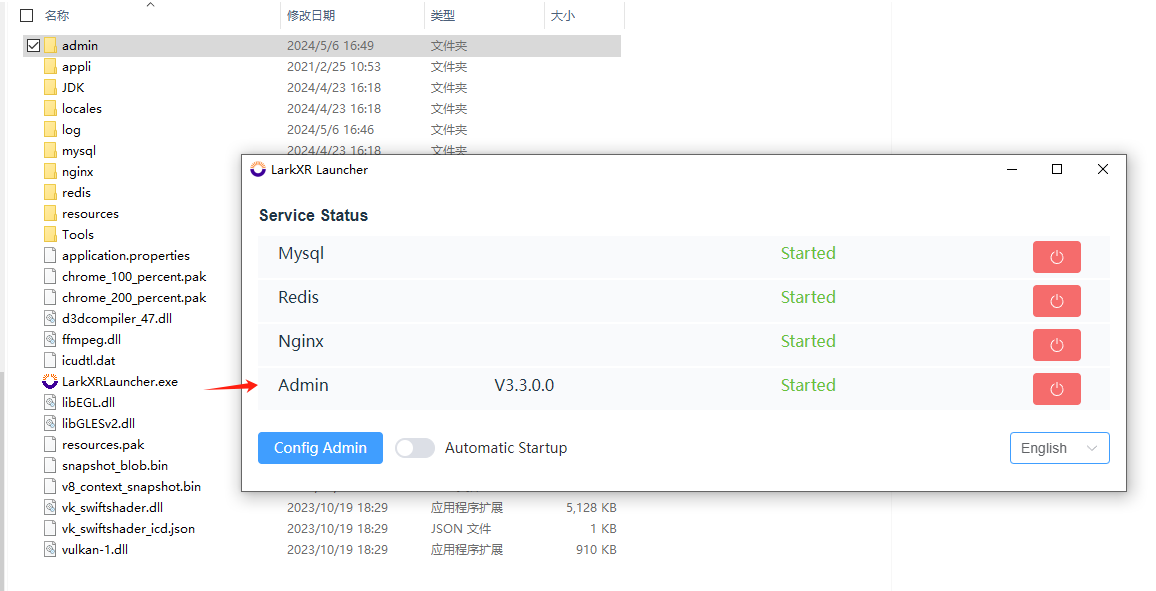
Step Four: Open the Deployment Directory and Run LarkXRLauncher.exe
Double-click on LarkXRLauncher.exe in the root directory as shown below:

Step Five: Configure Management
Open the configuration management and enter the local IP as the local IPv4 address. It is recommended to select the option for auto-start at boot. The service will start automatically after the server boots up. Leave other configuration options unchanged. Save the settings and restart the service.
Note: During server startup, there may be pop-ups that need to be canceled each time the server starts.
Step Six: Access the Service
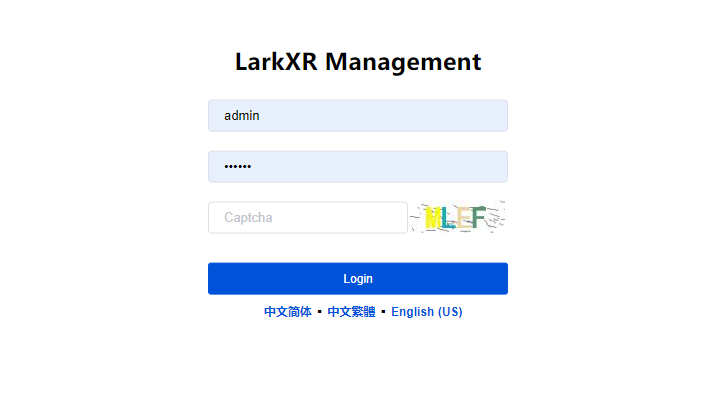
After all services have started normally, access IP:8182 with the default credentials admin and password 123456 as shown below:

Step Seven: Resource Monitoring
Log in to the backend interface to view resource monitoring information. At this point, the GPU node count is 0. Next, configure and start the rendering service.
Step Eight: Configure Rendering Node
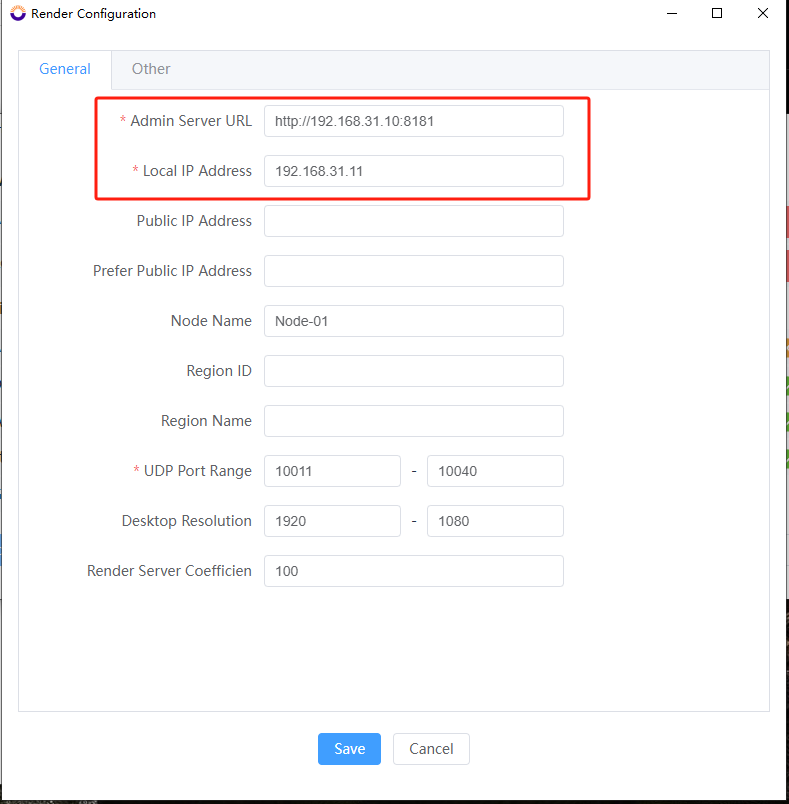
Click on configure rendering node, enter the management server address as the central management node URL. It is usually recommended to configure it to the access address of the LarkXR gateway. Enter the local IP address as the local IPv4 address and save the settings.

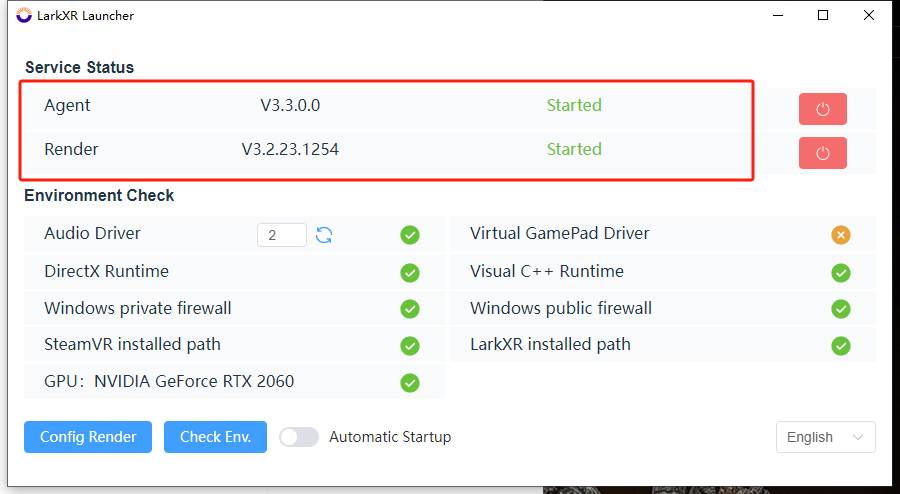
Step Nine: Start Agent and Render Services
Start the Agent and Render services as shown below:

Step Ten: Check Resource Monitoring
Log in to the backend interface to view resource monitoring information. At this point, the GPU node count should be 1.